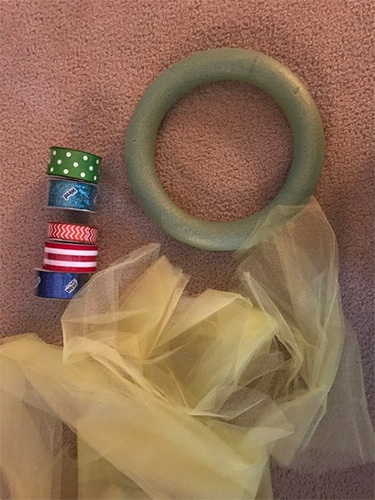
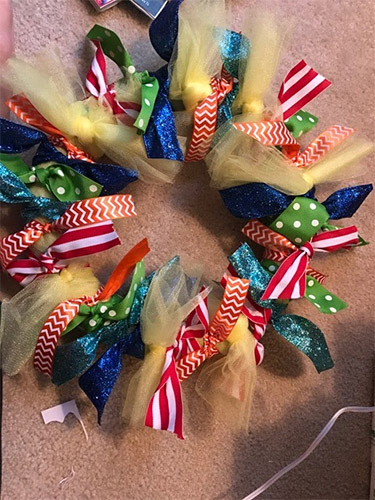
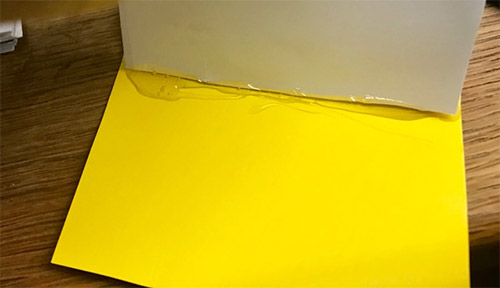
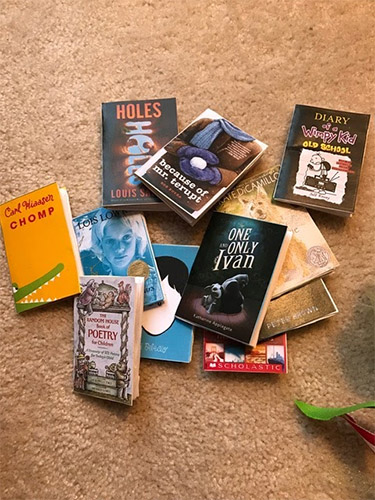
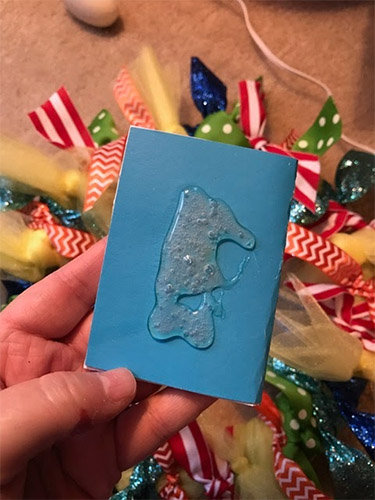
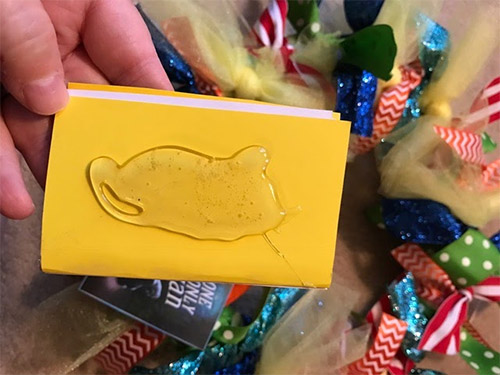
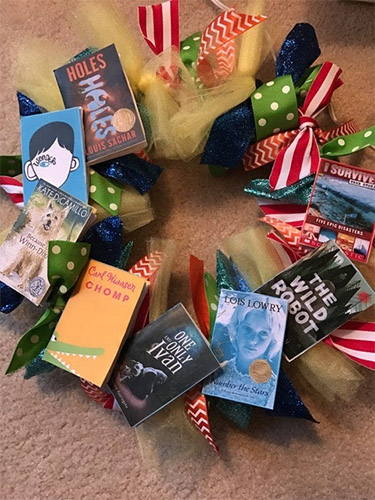
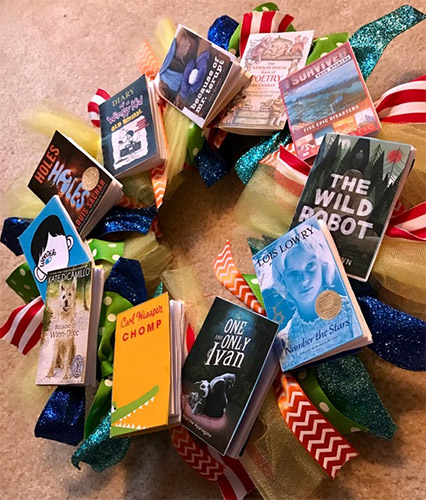
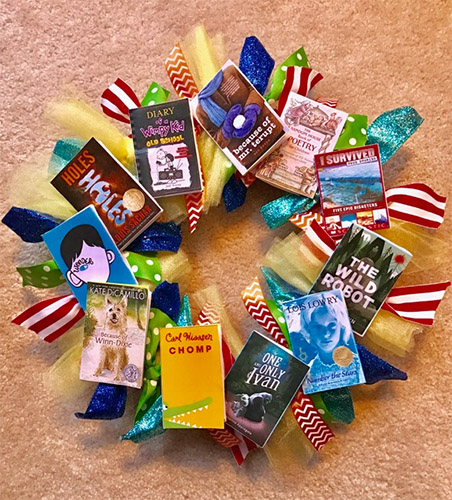
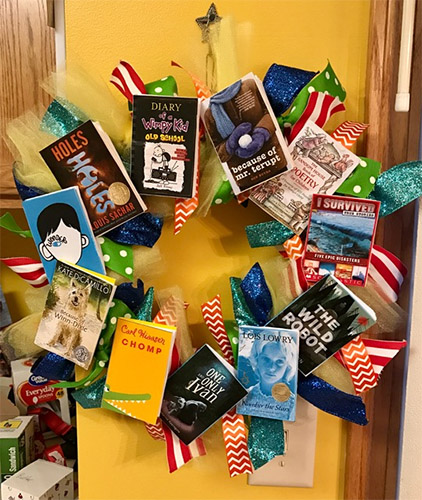
We love bookish art, and this one is a particular favourite of ours because no books were harmed in the making of the book wreath!

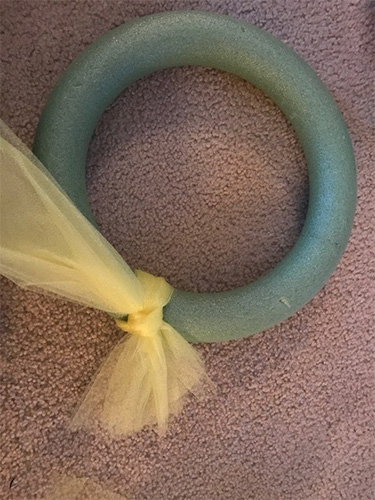
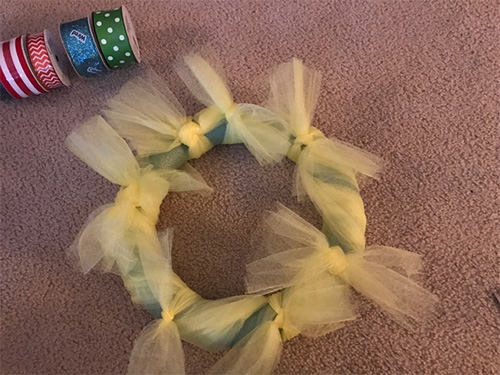
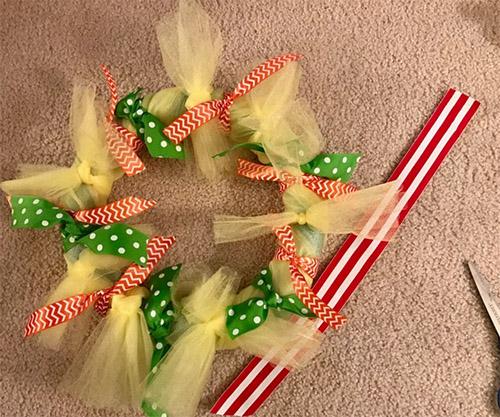
We’ve seen a few of these online, but none quite as beautiful as this one, sent in with full instructions on how to make your own by Amy Sabatini. The finished result is truly stunning, it’s hard to believe it’s home made but it is and here are the step by step instructions on how to make your very own book wreath.

​​​​​​​​​​​​1. Start with a wreath (you can choose any size…just remember the larger the wreath, the more ribbon required). Choose any ribbon you like. This was a 9 inch wreath (I think) and it took a spool of netting and 5 spools of ribbon (3 yards each). There is no science – usually you can eye it.

2. Simply wrap or tie the ribbon around the wreath. I wrapped some of the netting to cover space and left some over to tie. I’ve also created wreaths where I have not tied but completely wrapped the wreath in fancy ribbon. Depending on the width of the wreath, I would cut each strip to a length of about 9-12 inches. Again, it does not have to be perfect – the different lengths add to the charm. This was a wreath for a 4th grade teacher so it’s bright and colorful. But, you can obviously choose more rustic or even script printed ribbon.

3. Continue tying ribbon until you are satisfied with the fullness of the wreath.

4. Print out book covers of your chosen books. I googled the images or got them off of Amazon, shrunk them to the desired size (about 3 inches) and printed them off using a colored copier. Not sure about where you live, but there are many places that will do this (Kinko’s, library, UPS).

5. Cut and glue the book covers onto sturdy cardstock or a file folder that kind of matches the book color (although any color will work). Make sure to glue to the RIGHT of the cardstock so that you have enough room to cut a large enough piece to fold over for the book back. Cut out and fold to form a book. They do NOT have to be perfectly cut. Some of mine were cut uneven but you can’t tell once they’re on the wreath.

6. This is the most time consuming step. Trace the book onto a stack of blank white paper. Cut inside the lines because you want the paper stack smaller than the book. They need to fit nicely inside. Continue cutting for each book until they are the desired thickness. Again, they do not have to be perfect, and how thick you want them is up to you.

7. Once all the papers are cut for that book, use a hot glue gun and run a copious amount of glue down the inside center of the spine…glob it on there. Place the paper stack right onto the glue and hold, kind of really pressing it on and around into the glue. Fold the book over and message the papers into the spine from the outside. Be careful as the glue will still be hot. Do this with each book.


8. Now, you are ready to place them on the wreath. Lay them out the way you want them first. You might need to overlap a bit. I like them a little scattered looking and overlapping but that is up to you. Put a LARGE portion of hot glue on the back of the book. Since you will be placing it on top of ribbon that is not adhered to the wreath with glue, a large amount allows for some seeping through and letting the glue go through the ribbon and onto the wreath, securing it all together. I like to wait about 20 seconds after I blob the glue on so that it doesn’t melt the ribbon…but it still will and it might smell strange. Once it dries and hardens, it goes away. Just continue gluing until the books are all on.

9. Use a little to also adhere the books onto each other where they overlap for more security.

10. Tie on a ribbon or cord for hanging and you’re done.

Super easy …just time consuming!

Also note, you could make one using torn out pages of old books or favorite poems, quotes, photos of favorite authors, etc. Just make sure to glue pics or pages onto sturdy card stock before gluing on.