
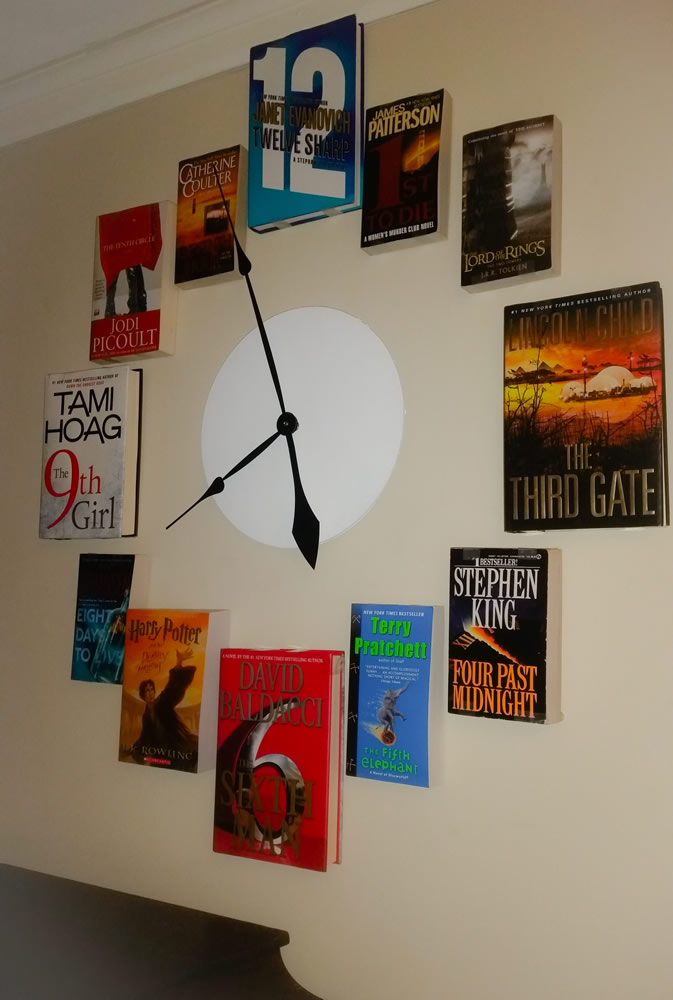
The making of the Book Clock
A few days ago someone sent us a photo of a clock made entirely of books and we loved it! After a crazy 24 hours of comments and shares, the creators of the clock, Adam and Misti Yerton got in touch. Full credit for this wonderful creation goes to them of course, and Adam has kindly recreated the instructions to make the clock for you guys and has given me permission to republish them here.
If you’d like to make your own book clock, here’s the original clock from start to finish and how to!
No books were harmed in the making of this clock.
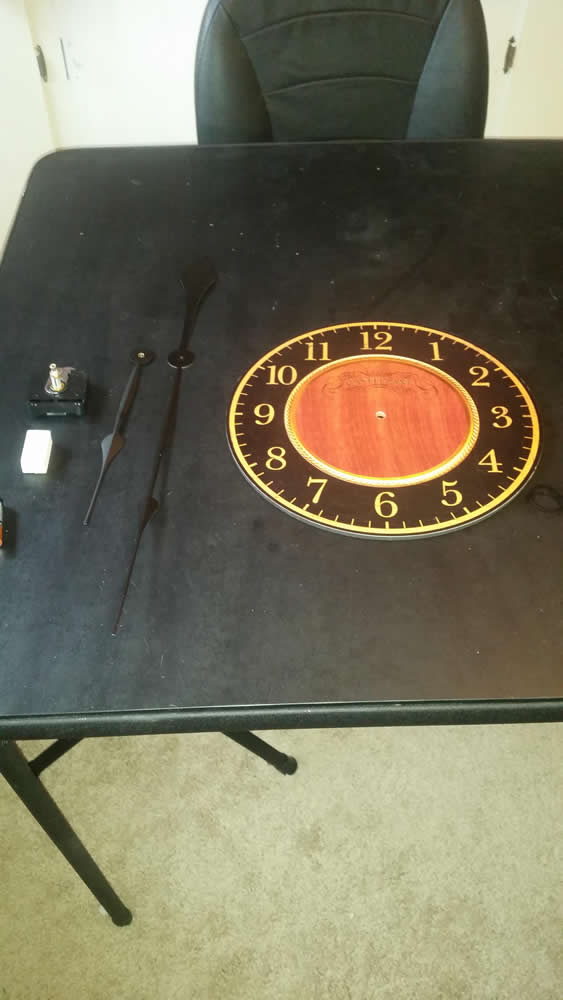
We needed a high torque clock movement to support the long hands I wanted to use. We then bought a small cheap clock to use as a base and removed the old hands and motor.
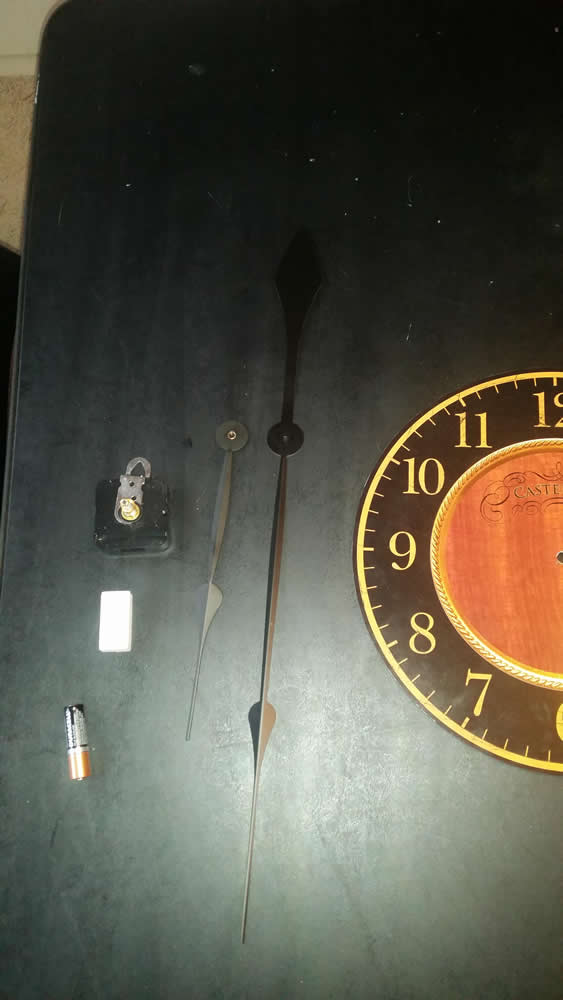
I am pretty sure my old clock, which had long hands, did not have a strong enough motor, which lead to it being off constantly.
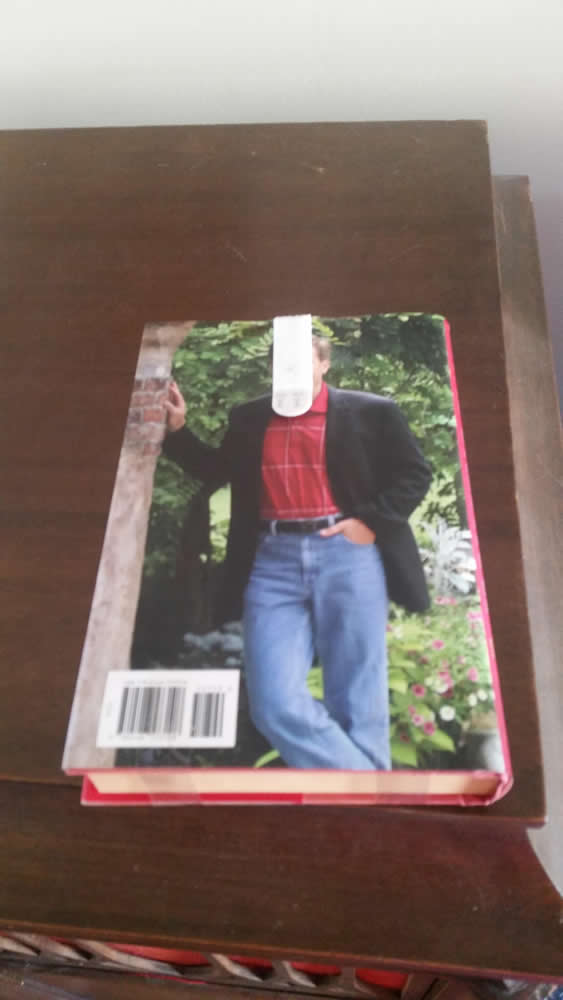
Once we gathered the books it was simply a matter of taping the book to keep them from opening and using the damage free heavy duty command strips to secure the books to the wall.
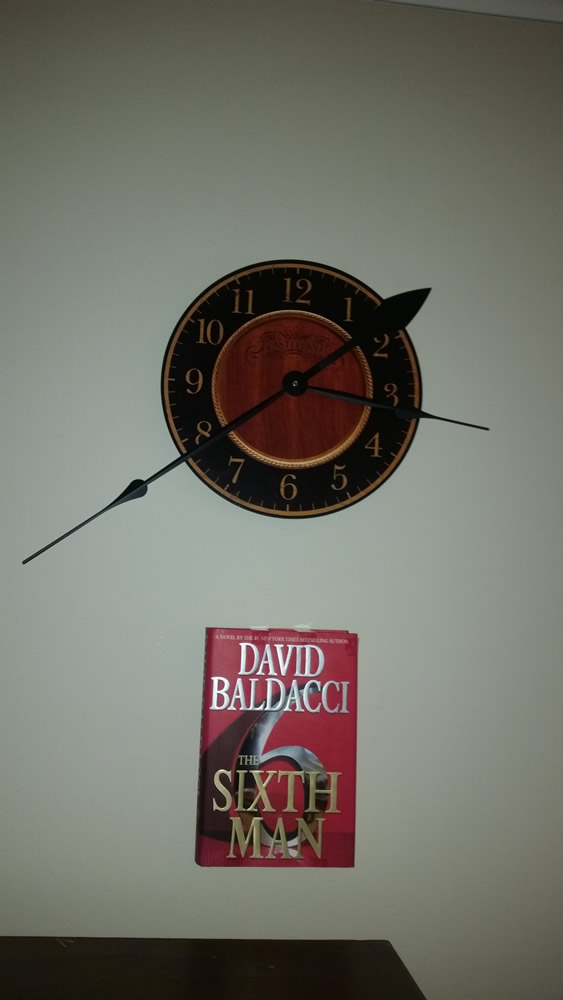
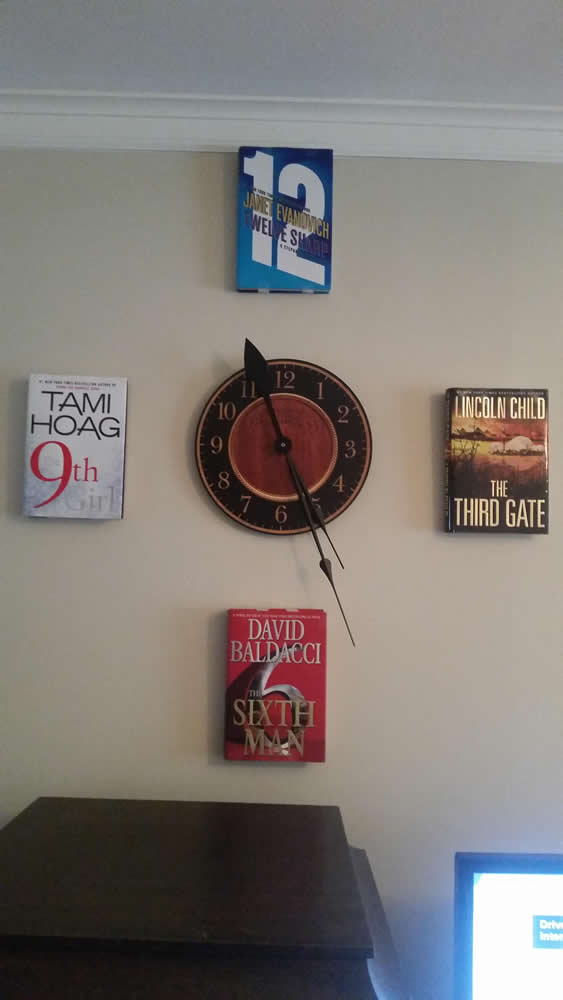
Using the cheap clock as a guide I positioned my lowest book
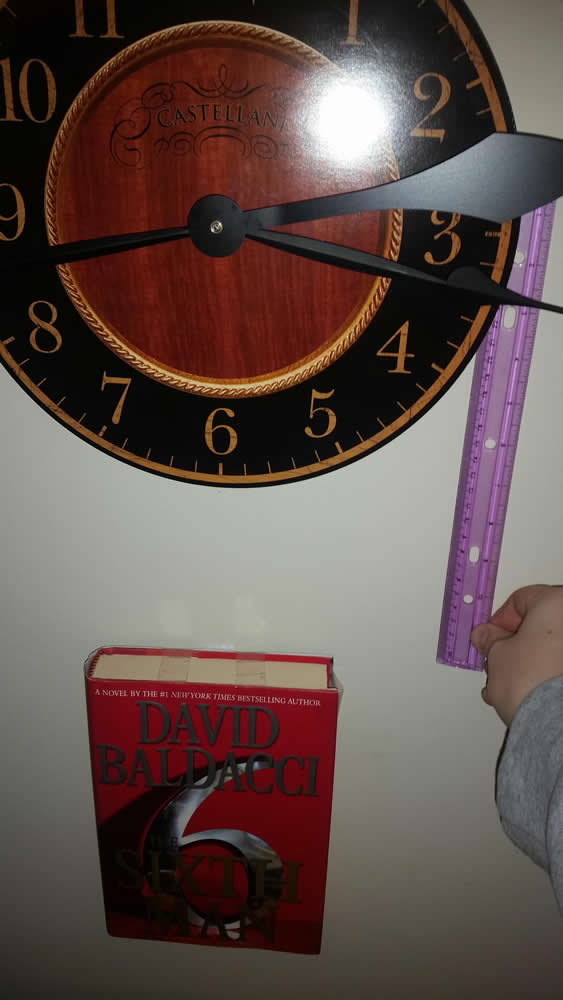
With that book as a reference point I used a ruled to determine the gap needed for the edges of all the other cardinal points.
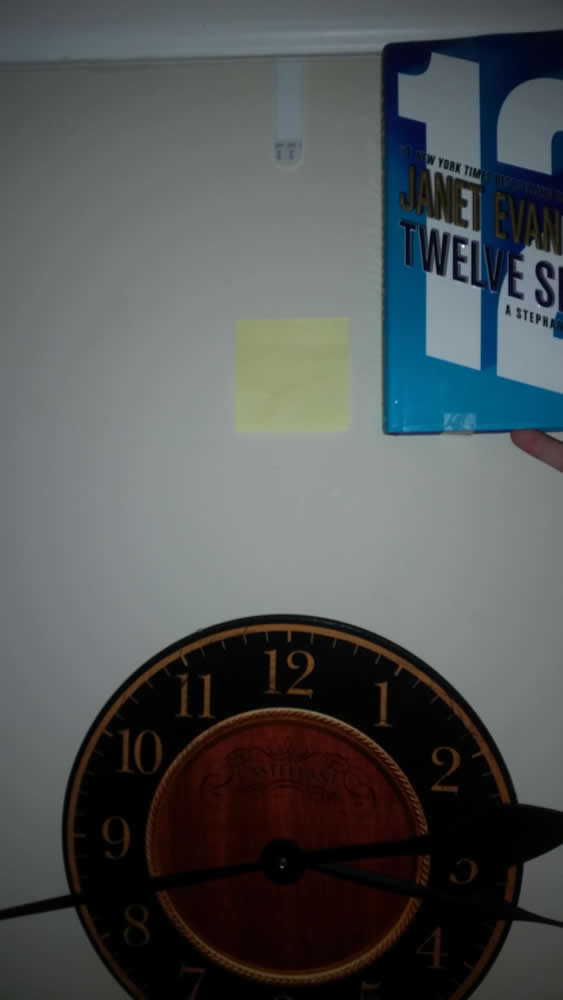
I used post it notes to mark where the edges of the books needed to be.
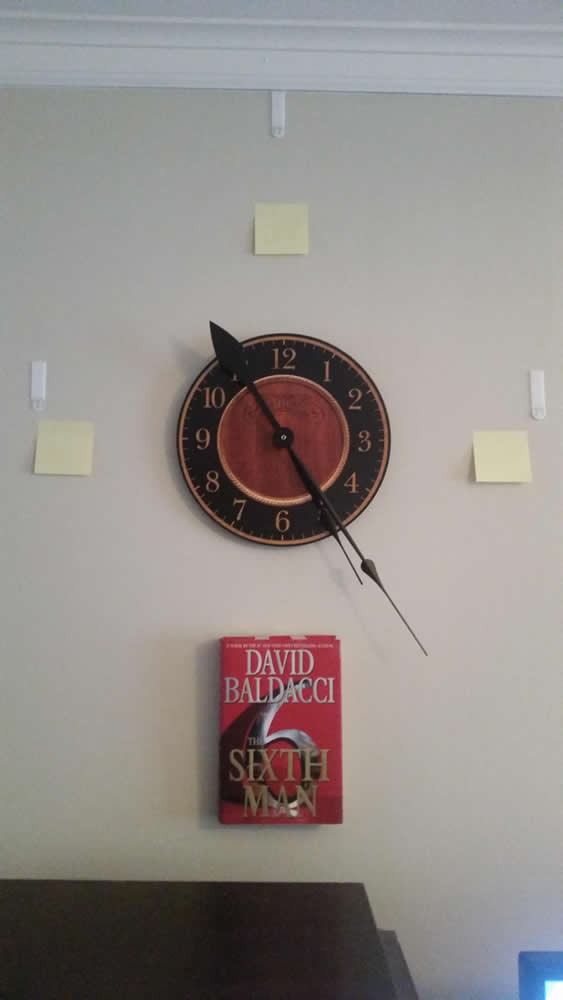
All the cardinal points are marked…
And they are all in place.
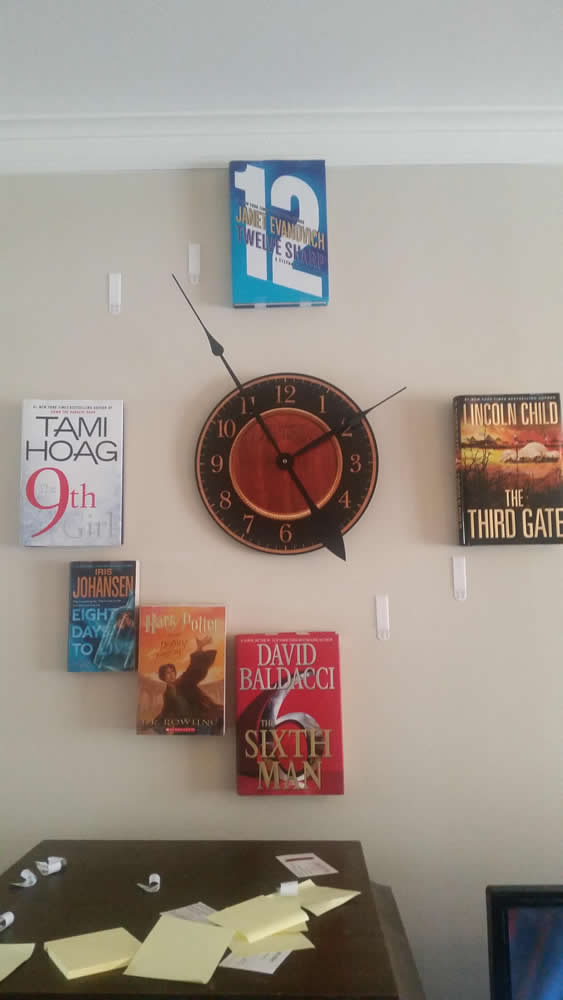
From there it was just a process of measuring and finding good spots for the rest of the numbers. We used large hardbacks for the cardinal numbers and paperbacks for the off numbers
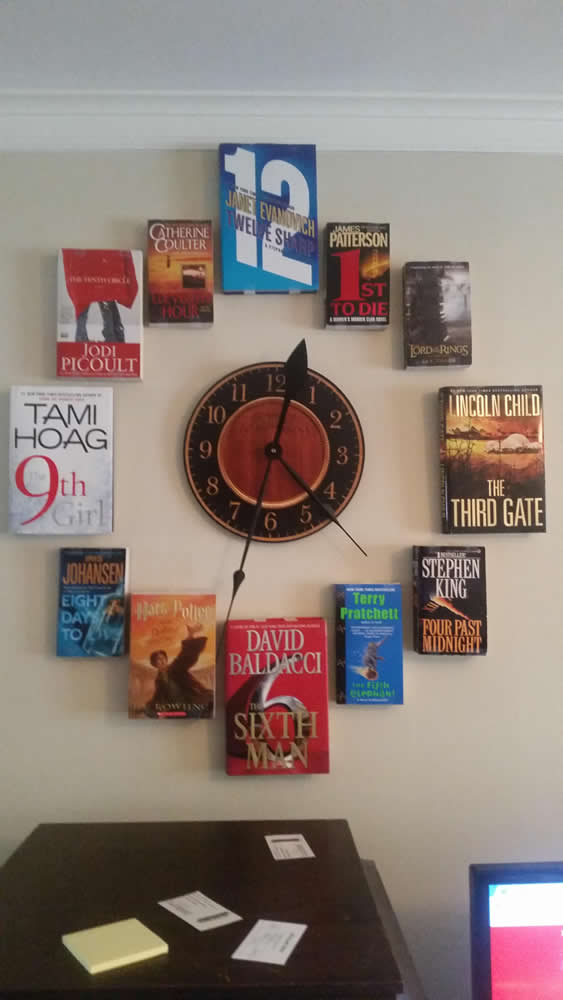
All books in place
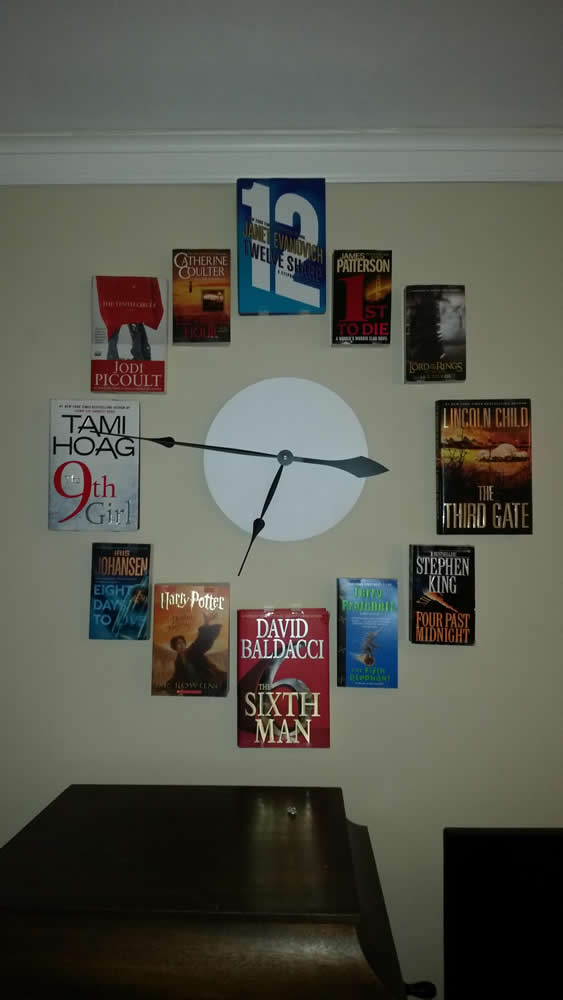
Tada! A near finished project, even with just a white clock face I am still pretty happy with. We are going to take our time with the clock face but for now we are going to enjoy it as is!
So if you’re inspired to make your own, now you know how.
Full credit to Adam and Misti Yerton who shared the original instructions here.